
Appearance
Install on shared hosting
On a host with a control panel, the whole installation happens in your browser: create a PostgreSQL database, upload the zip, point the domain at its public/ folder and follow the installer. It takes about ten minutes, and you never need SSH.
Using a VPS?
With SSH access, Install on a VPS gives you Nginx, a proper background worker and a one-command install.
Throughout this guide, replace analytics.example.com with your own (sub)domain and 1.0.0 with the version you downloaded. The Single user package is replora-single-1.0.0.zip, the SaaS package replora-saas-1.0.0.zip.
Check that your host fits
Replora needs PHP 8.3 or newer and PostgreSQL. Many shared hosts offer PHP 8.3 but only MySQL: look for PostgreSQL Databases in cPanel (or Databases › PostgreSQL in Plesk / DirectAdmin) before you buy or upload anything. Without PostgreSQL, Replora can't be installed on that host.
In Select PHP Version (cPanel) or PHP Settings (Plesk) choose PHP 8.3 or 8.4 and tick the extensions pdo_pgsql, mbstring, fileinfo, zip, sodium (plus openssl, tokenizer, xml, ctype, zlib, which are almost always on). The full list is in Server requirements.
You also need your purchase code: see Your purchase code.
Create a PostgreSQL database
In cPanel open PostgreSQL Databases and:
- Create a database, for example
replora(cPanel adds your account prefix:cpuser_replora). - Create a user with a strong password.
- Under Add User to Database, add the user to the database and give it all privileges.
Write down the full database name, the user name and the password. The database must be empty. The host is usually localhost (or 127.0.0.1) and the port 5432.
Upload and extract
- In File Manager, open your home folder (not
public_html) and Uploadreplora-single-1.0.0.zip. - Extract it. You get a folder
replora-single-1.0.0/. You may rename it, for example toreplora. - Point the site at its
public/folder:- Subdomain or addon domain (best): in Domains (or Subdomains), create
analytics.example.comand set its Document Root toreplora/public. - Existing domain: change its document root to
replora/public(cPanel: Domains › Manage › Document Root).
- Subdomain or addon domain (best): in Domains (or Subdomains), create
Only public/ may be reachable
The document root must be the public/ folder. Never extract the package into public_html itself: the .env file, logs and recordings would then be downloadable. If your host can't change the main domain's document root, install Replora on a subdomain.
Install right after uploading
Until installation is finished, anyone who opens the site sees the installer. Complete the next step straight away.
Run the installer
Open https://analytics.example.com in your browser. Every page sends you to /install until Replora is installed. The left column shows the five steps.
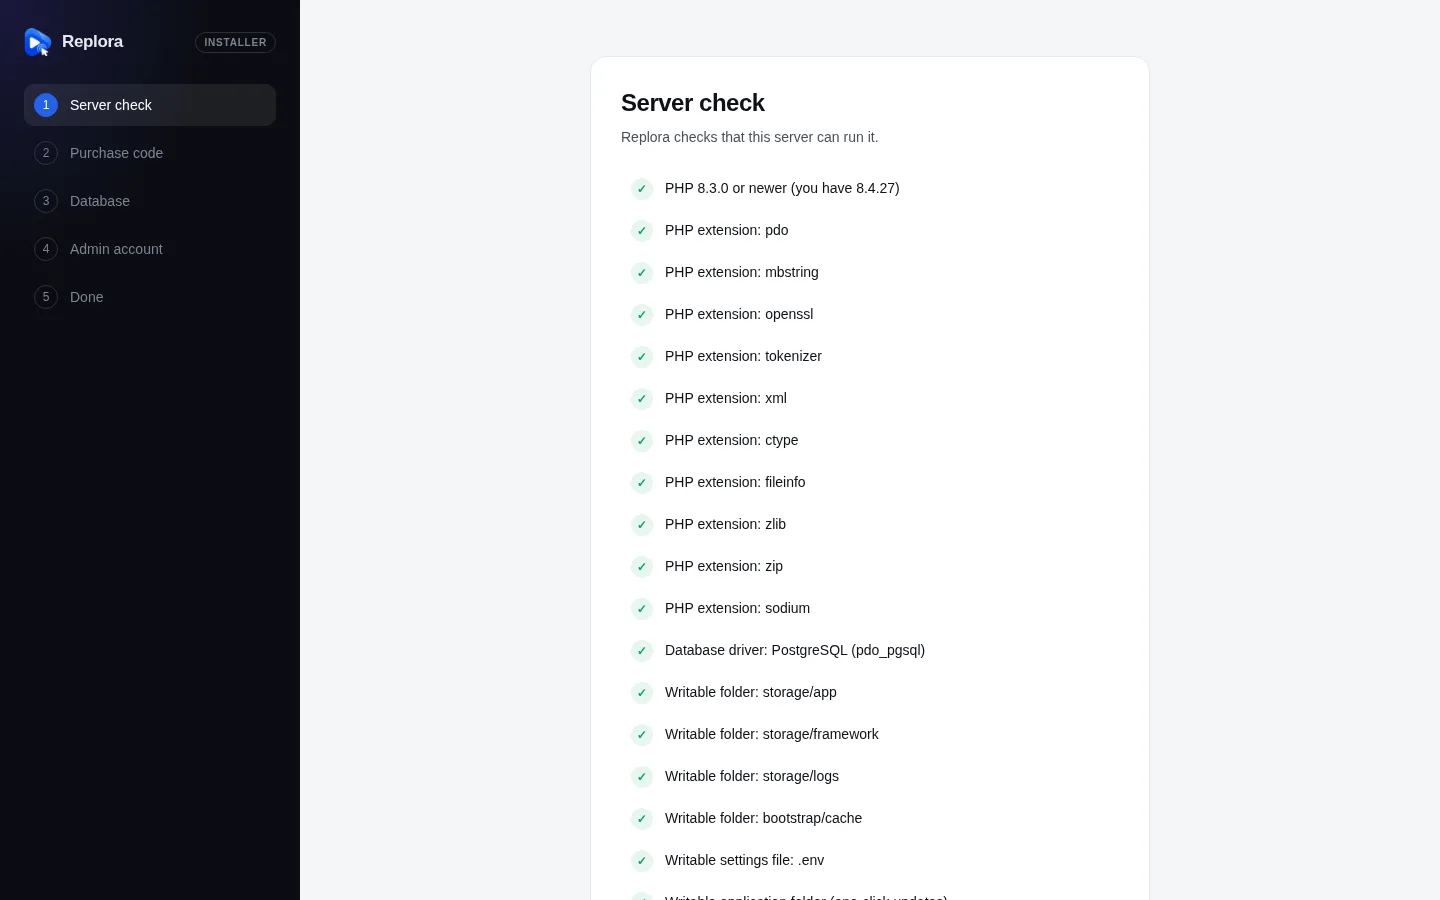
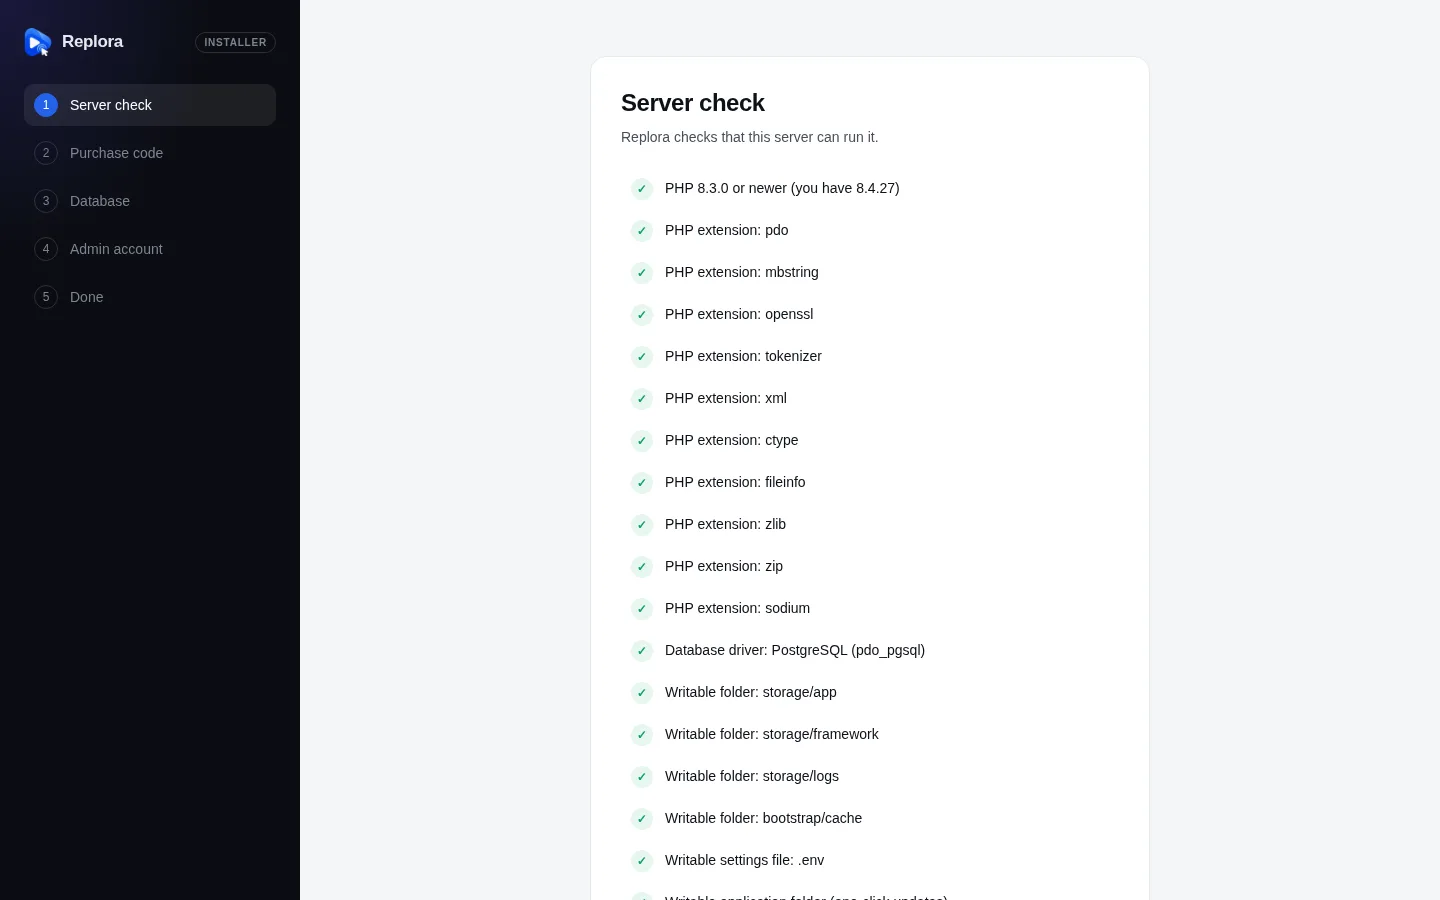
- Server check. Every requirement is listed as passed (✓), failed (✕) or a warning (!). Fix anything that failed in your control panel (usually the PHP version or an extension, or folder permissions), then click Check again. When everything required passes, click Continue. The only optional check, Writable application folder (one-click updates), decides whether updates can later be installed with one click.
- Purchase code. The Site address is filled in from the page you opened; keep it (the license is attached to its domain). Paste your Purchase code and click Verify and continue. The code is checked with our license server, which then sends the Replora modules; they are downloaded and installed automatically, which can take a minute. Every message is explained in Your purchase code.
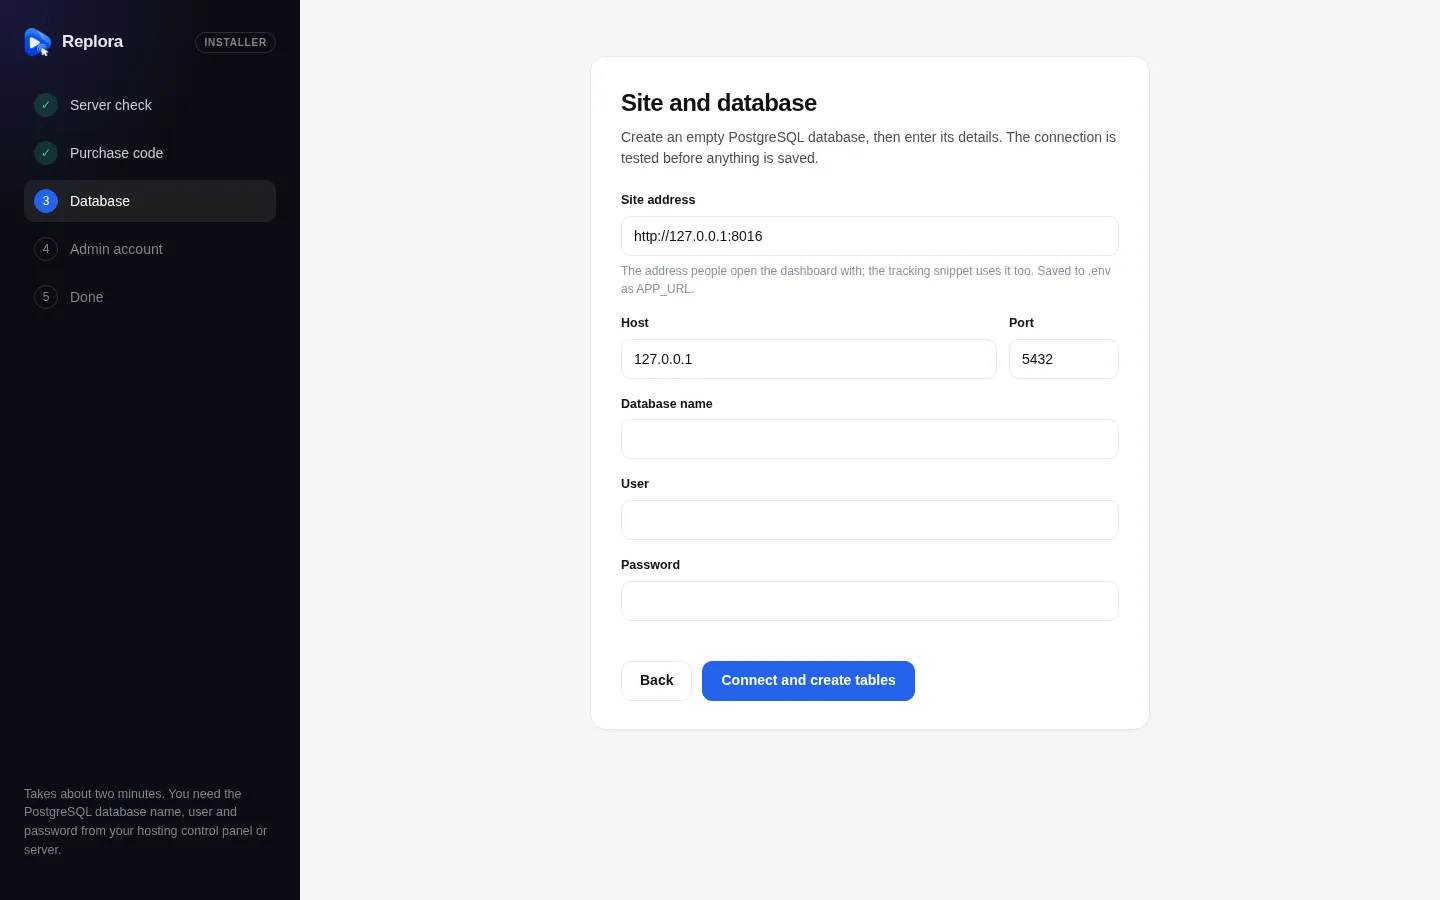
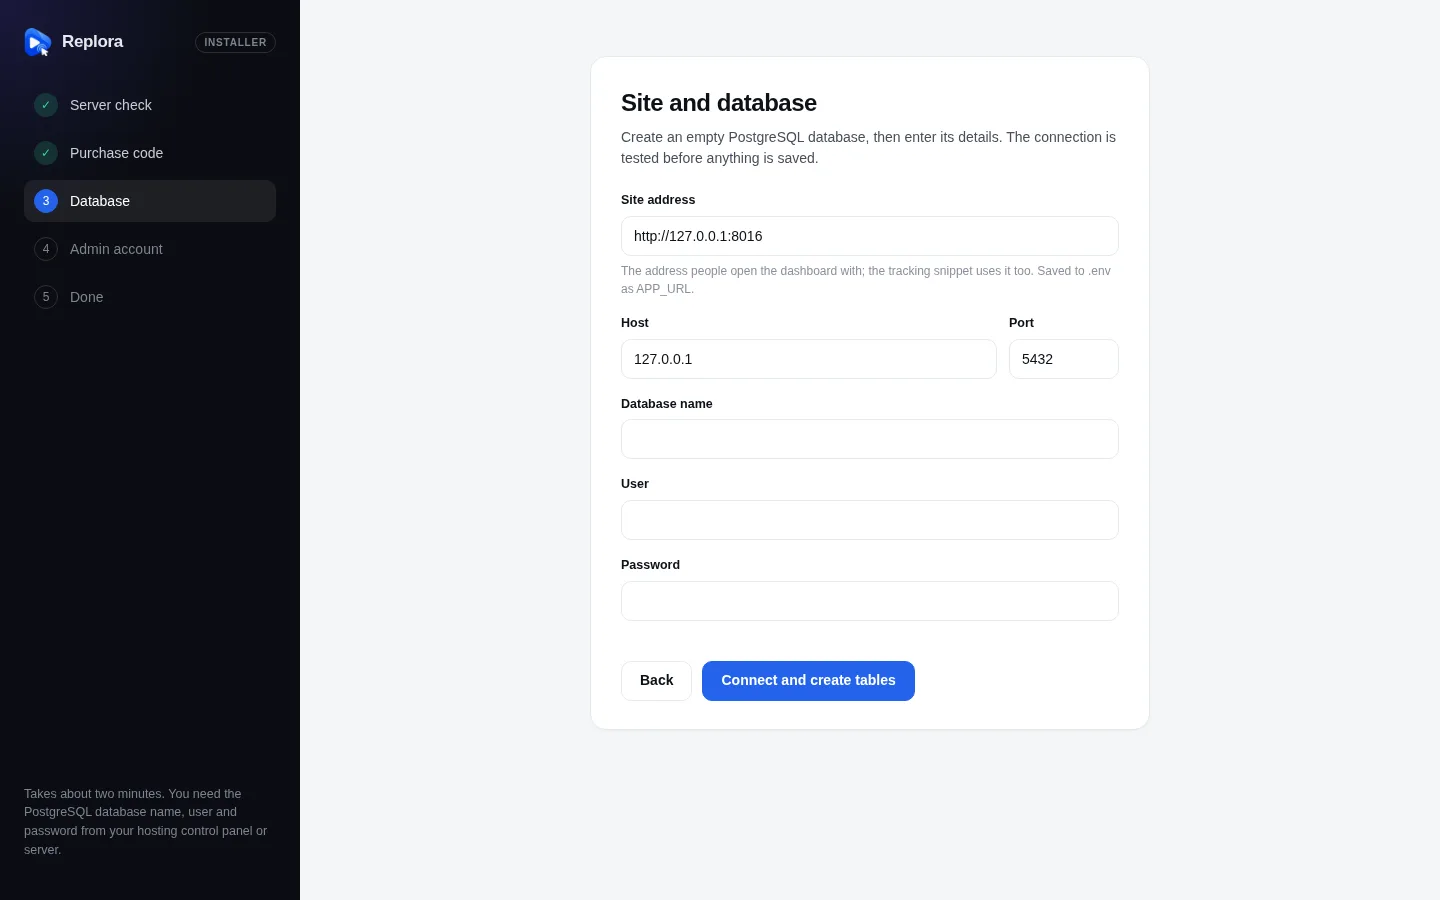
- Site and database.
- Site address: the address people open the dashboard with, for example
https://analytics.example.com. It is saved to.envasAPP_URL; the tracking snippet uses it too, and sign-in is set up for exactly that host and port. - Host (default
127.0.0.1) and Port (default5432), Database name, User and Password from the database step. - Click Connect and create tables. The connection is tested before anything is saved, then the tables are created (up to a minute: keep the page open).
- Site address: the address people open the dashboard with, for example
- Admin account. Your name, Email, Password (at least 10 characters) and Repeat password. With the SaaS package you also choose the Edition: Single user (private, no sign-up, plans or billing) or SaaS (public sign-up, plans with limits and subscriptions). You can switch later with
REPLORA_MODEin.env. Click Finish installation. - Done. You are signed in. The installer closes itself: its pages answer 404 from now on.
The installer writes .env for you: a new APP_KEY, APP_ENV=production, APP_DEBUG=false, the address, the database, SESSION_DRIVER=file, CACHE_STORE=file, QUEUE_CONNECTION=database, SANCTUM_STATEFUL_DOMAINS and the edition.
Messages you may see in the installer
| Message | Meaning |
|---|---|
| Could not connect to the database: … | The details are wrong, the user has no rights on the database, or PostgreSQL doesn't accept connections from this host. The rest of the message is PostgreSQL's reason. |
| Database names may use letters, numbers, _ $ and -. | Use the exact name the control panel shows. |
| The database tables could not be created: … | The user can connect but not create tables. Give it all privileges on the database (or make it the owner). |
| The installer is still working on this step. Wait a moment, then reload the page. | A second click or tab while a step is running. |
| An account exists already. Sign in instead. | The database already has users: use an empty database. |
| Too many attempts in a short time. | The installer limits how often a page or form can be sent (the purchase code: 10 tries a minute). Wait the seconds shown; nothing you typed is lost. |
Check file permissions
The web server must be able to write to storage/, bootstrap/cache/ and the .env file the installer creates; the server check tells you if it can't. On most hosts this works out of the box. If not, set those folders to 775 (and files to 664) in the File Manager's Permissions.
For one-click updates and the module download, the web server must also be able to write to the application folder and modules/.
Add the cron job
Replora needs one cron entry every minute. In cPanel open Cron Jobs, choose Once Per Minute (* * * * *) and enter:
bash
cd /home/USER/replora && php artisan schedule:run >> /dev/null 2>&1Replace USER and the folder with yours. If php is an older version on the command line, use the full path of PHP 8.3, for example /usr/local/bin/php or /opt/cpanel/ea-php83/root/usr/bin/php (your host's documentation names it). See Scheduler (cron) for what it runs.
Process recordings without a long-running worker
Recordings are processed by a background worker. Shared hosts usually don't allow programs that run all the time, so use one of these instead:
bash
# A second cron entry, every minute: works through waiting jobs, then exits.
cd /home/USER/replora && php artisan queue:work --stop-when-empty --max-time=55 >> /dev/null 2>&1
ini
# In .env: every recording batch is processed inside the request that sends it.
QUEUE_CONNECTION=sync- The cron worker keeps ingest requests fast. Recordings appear in the dashboard within a minute or two.
syncneeds no worker at all, but each batch is processed while the visitor's browser waits for the answer. It suits low-traffic sites;php artisan replora:doctorwarns about it for high load.
Check the result on Administration › System › Service status: Background jobs must say Workers keep up (or Jobs run at once, in the request with sync). See Background worker & email.
Set up email
Password resets, invitations, alerts and service warnings are sent by email. Until you set it up, emails are only written to the log (the Email delivery check says so). Set it up in Settings › Installation: see Email delivery.